A guide to setting up email on your Android phone, tablet or other device.
The guide works on devices from different manufacturers such as Samsung, Huawei, OnePlus, Sony, etc. This guide uses Android version 8.0, called Oreo.
Following settings are compatible with you email account:
-
- Encrypted connection: SSL, SSL/TLS or STARTTLS
- Incoming mail server i.e IMAP server: imap.zone.eu port 993
- Incoming mail server i.e POP3 server: pop3.zone.eu port 995
- Outgoing mail server i.e SMTP server: smtp.zone.eu port 465 SSL/TLS or 587 STARTTLS
Outgoing mail server requires authentication (username is email address, password is general or device specific).
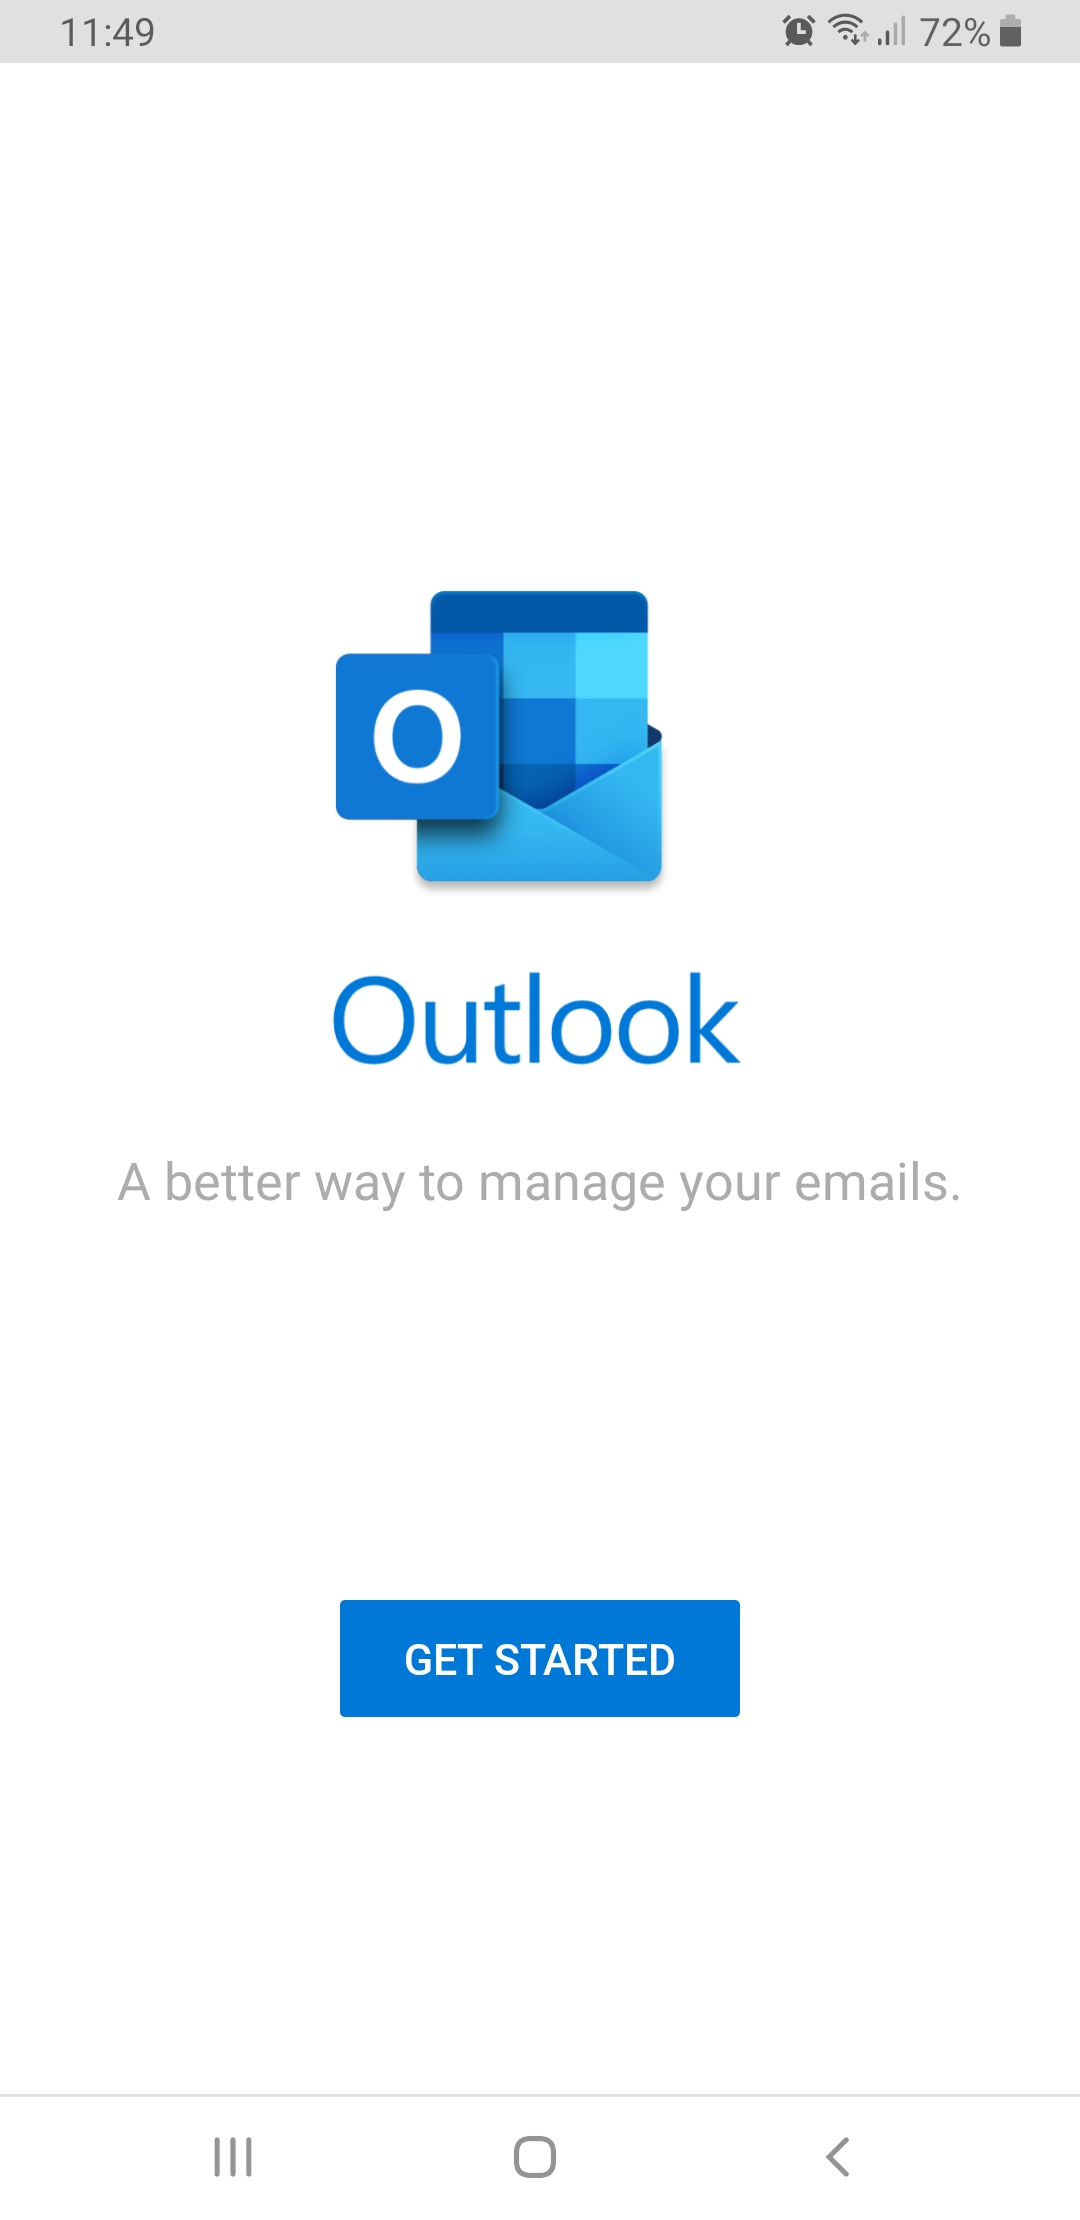
- Open the Outlook app on your phone and choose
Get started.
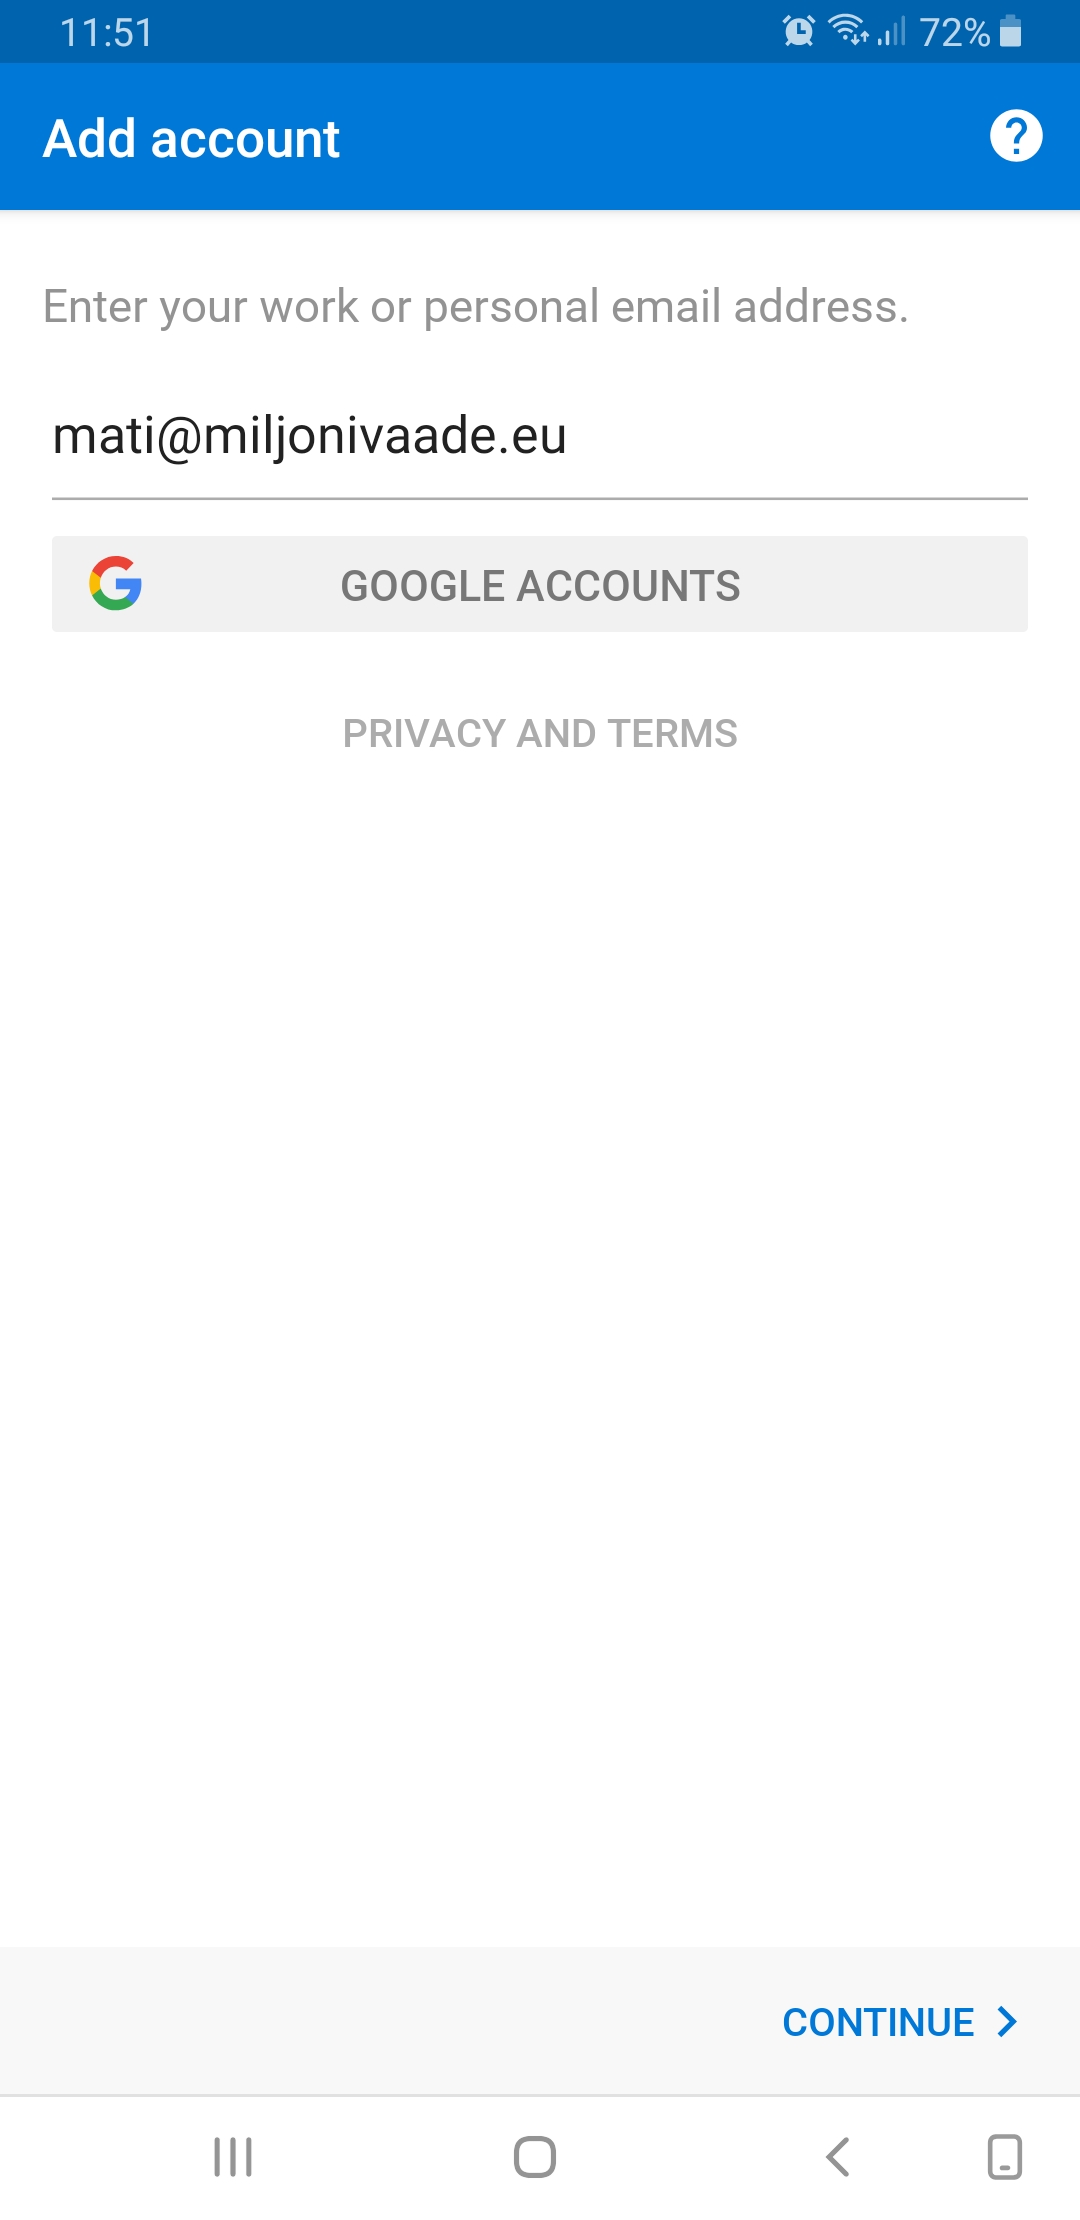
2. Enter the email address you want to configure and press Continue.
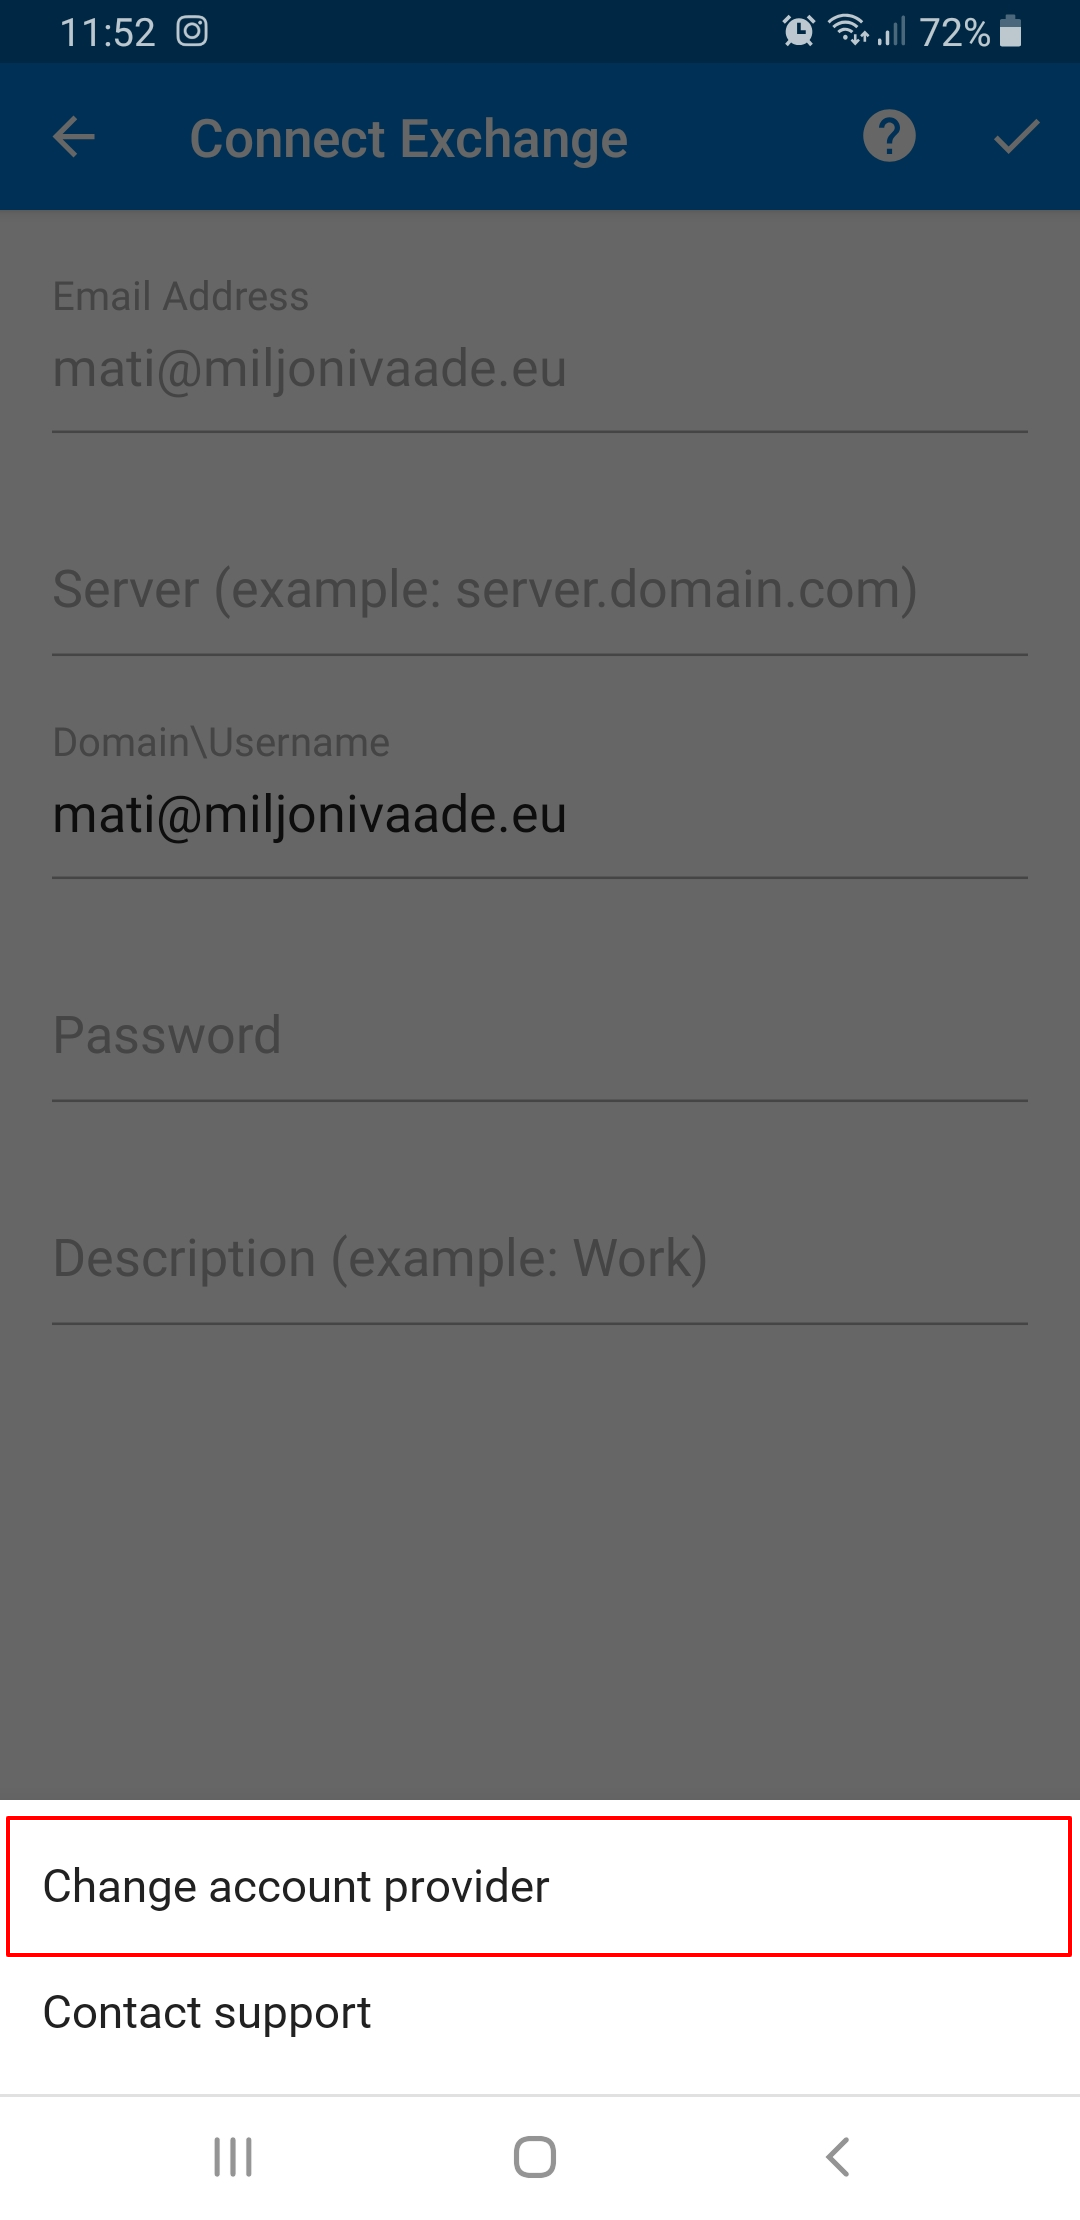
On the next page, click on the question mark icon in the top right-hand corner, and choose Change account provider, select account type IMAP from the menu.
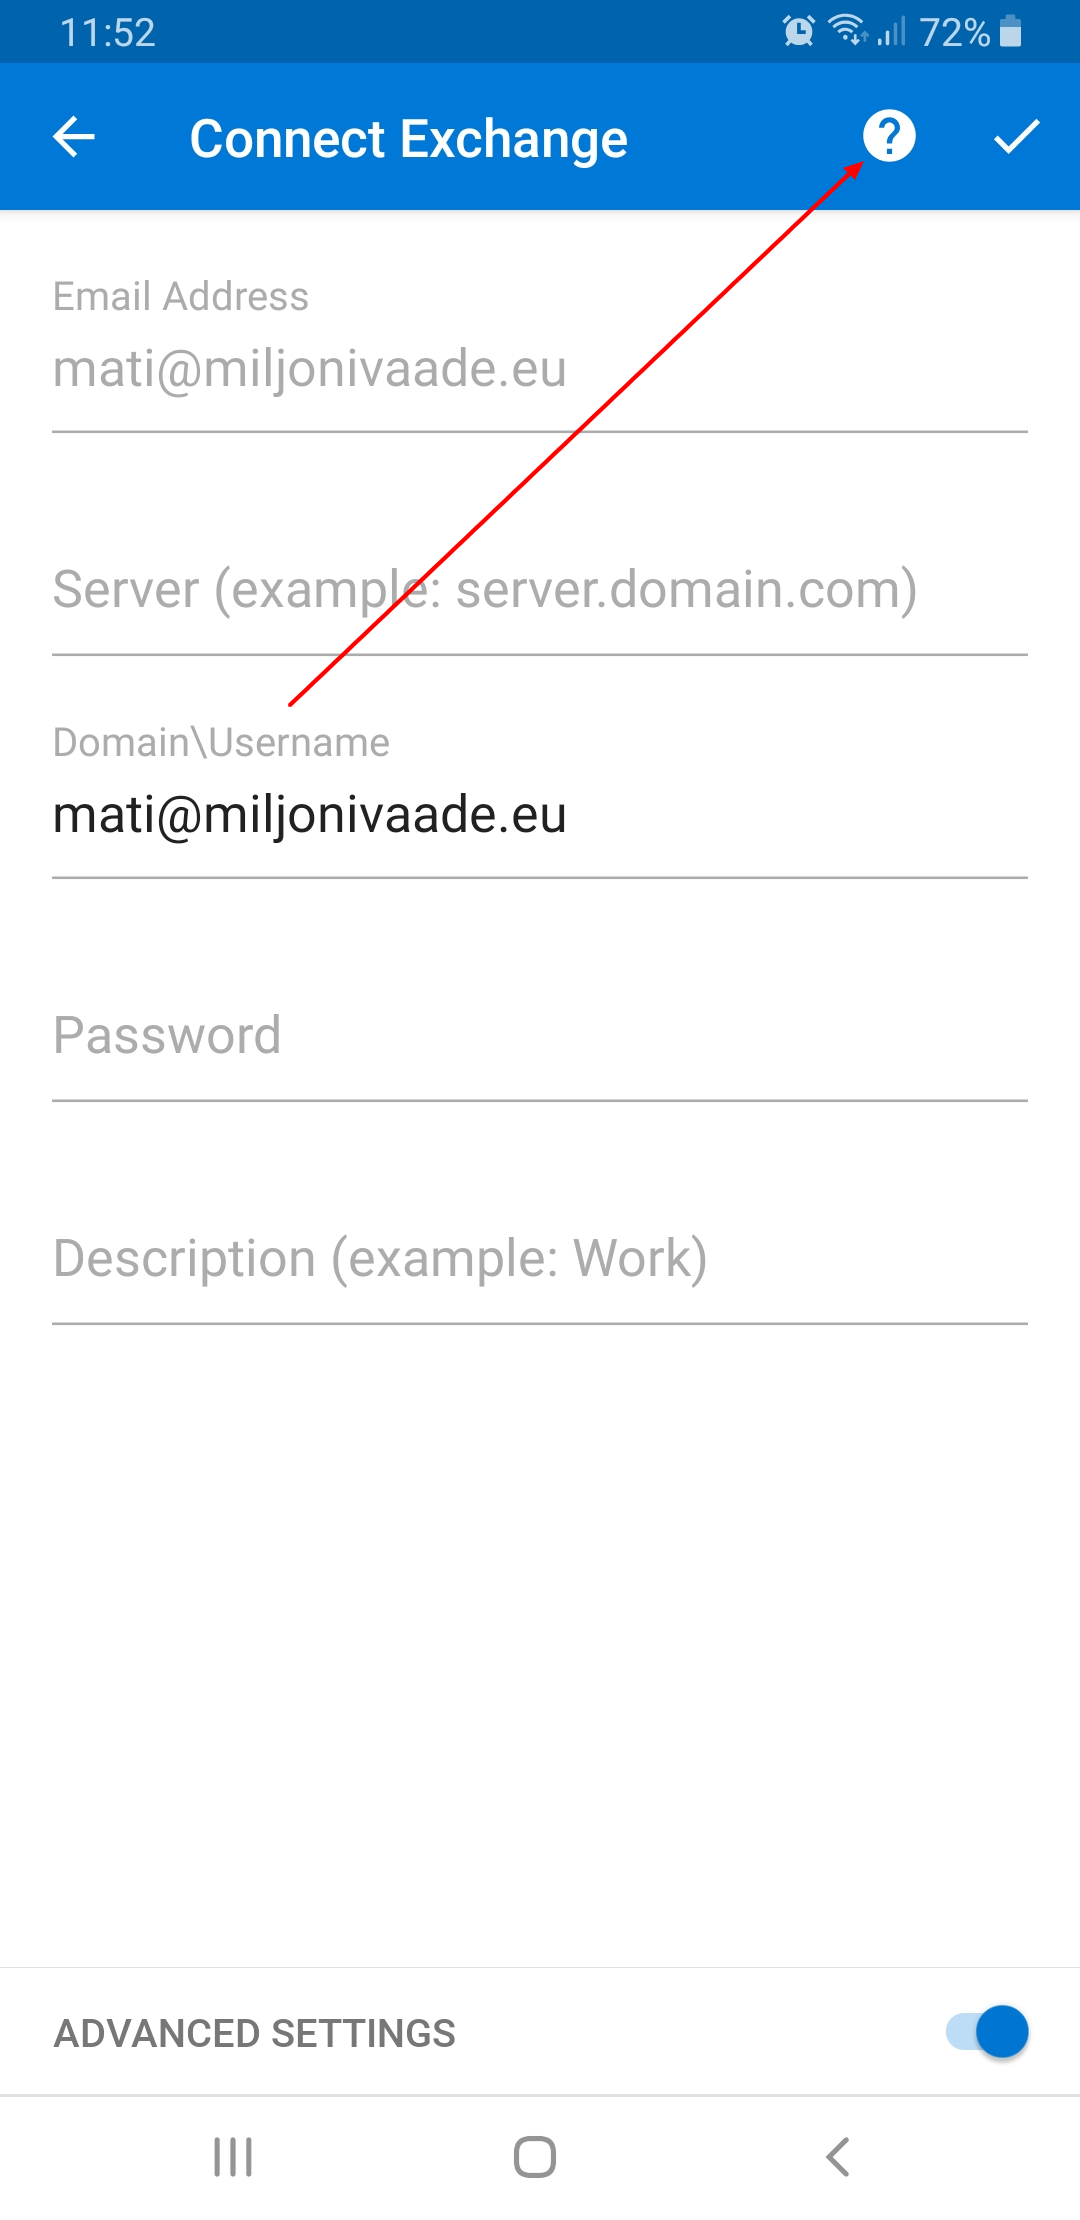
Activate the Advanced settings option and fill in all the fields in the menu that appears.
Please note that in the IMAP username and SMTP username sections, you must enter an e-mail address.
In the Password section, you must enter the password of the e-mail account you are configuring for both SMTP and IMAP.
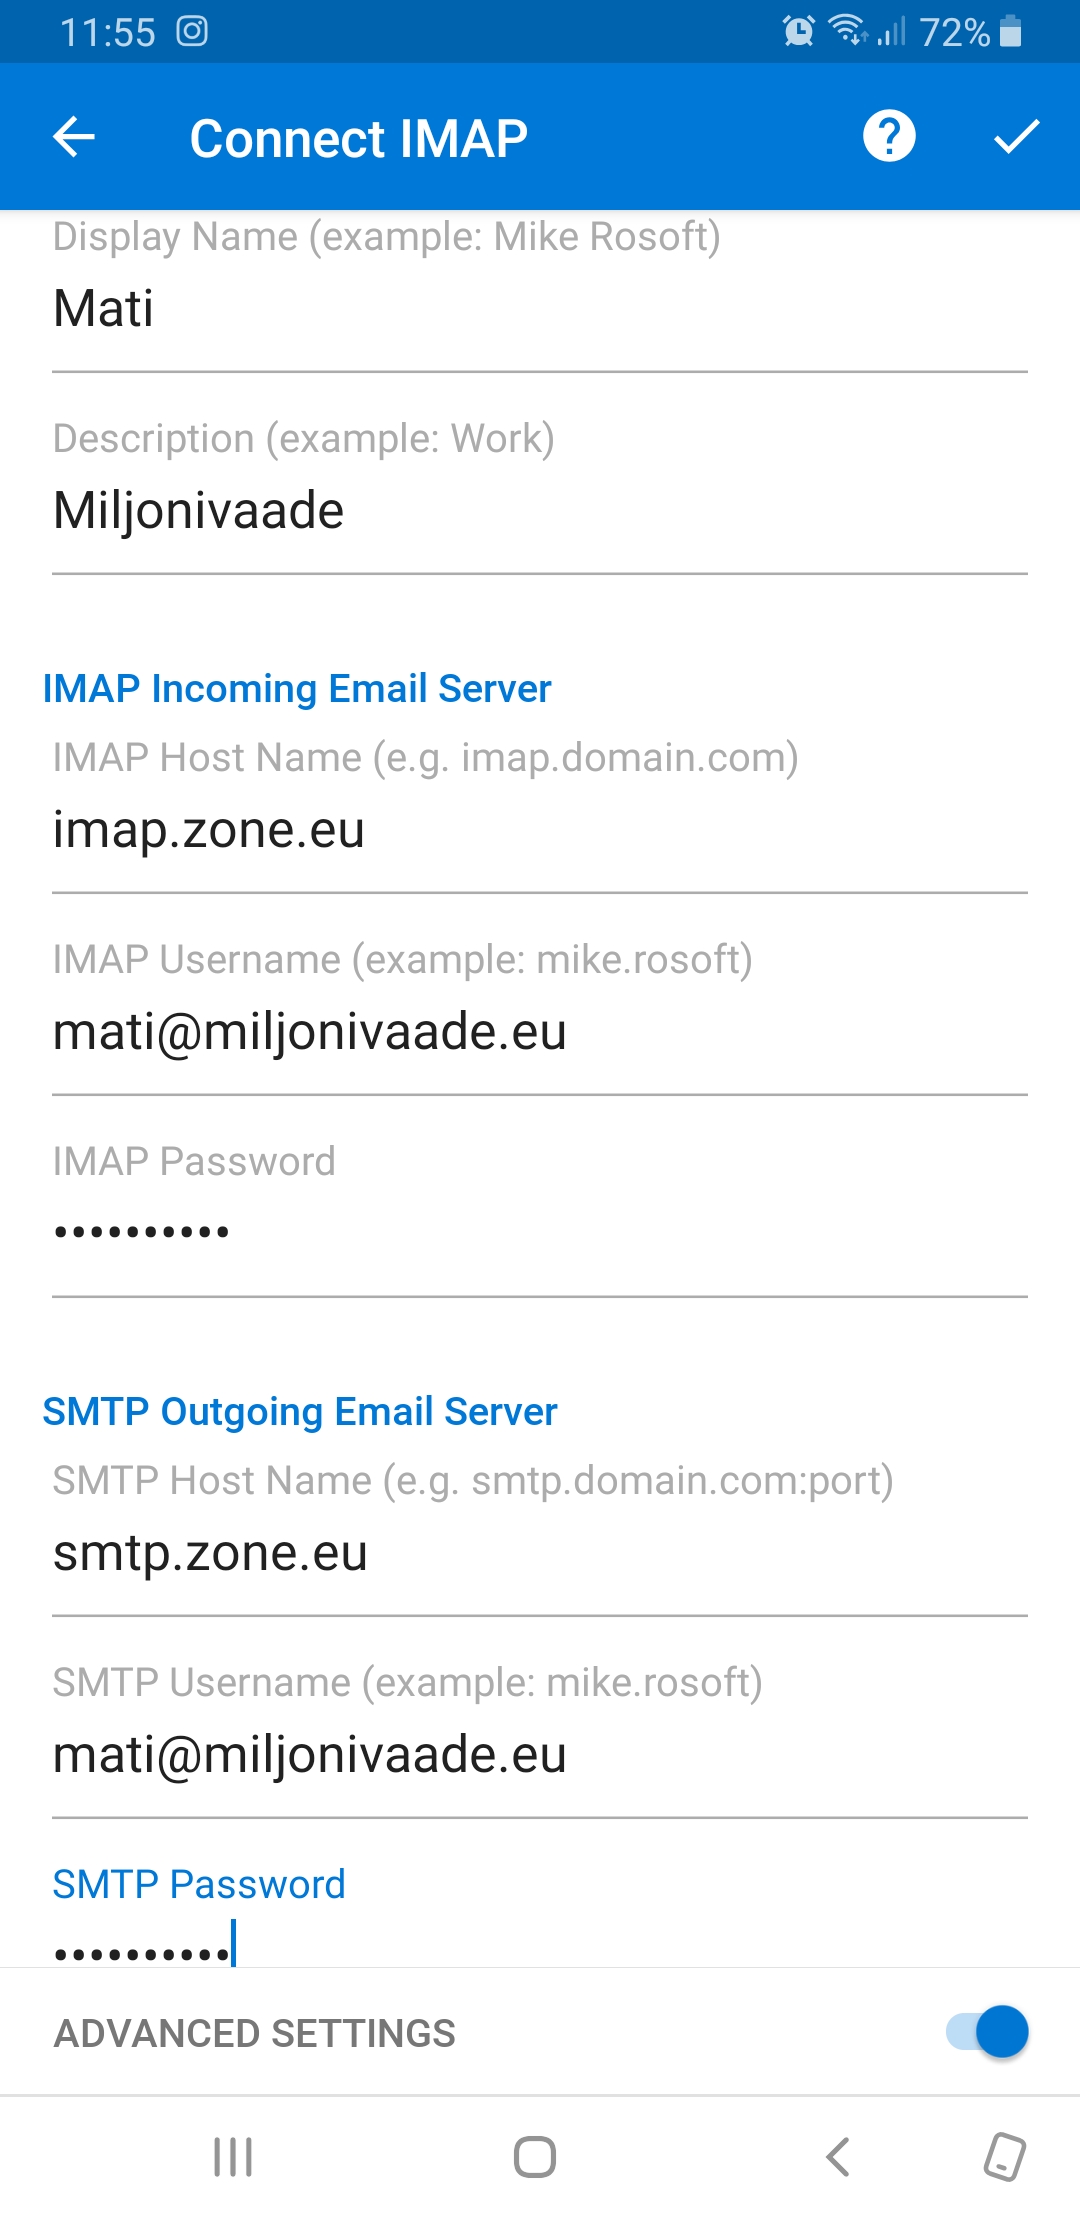
Once the correct information has been entered, click on the ticked icon in the top right corner.
The client program will then check that the information is correct and, once connected, the account is successfully set up and ready to use.