Following settings are compatible with you email account:
- Encrypted connection: SSL, SSL/TLS or STARTTLS
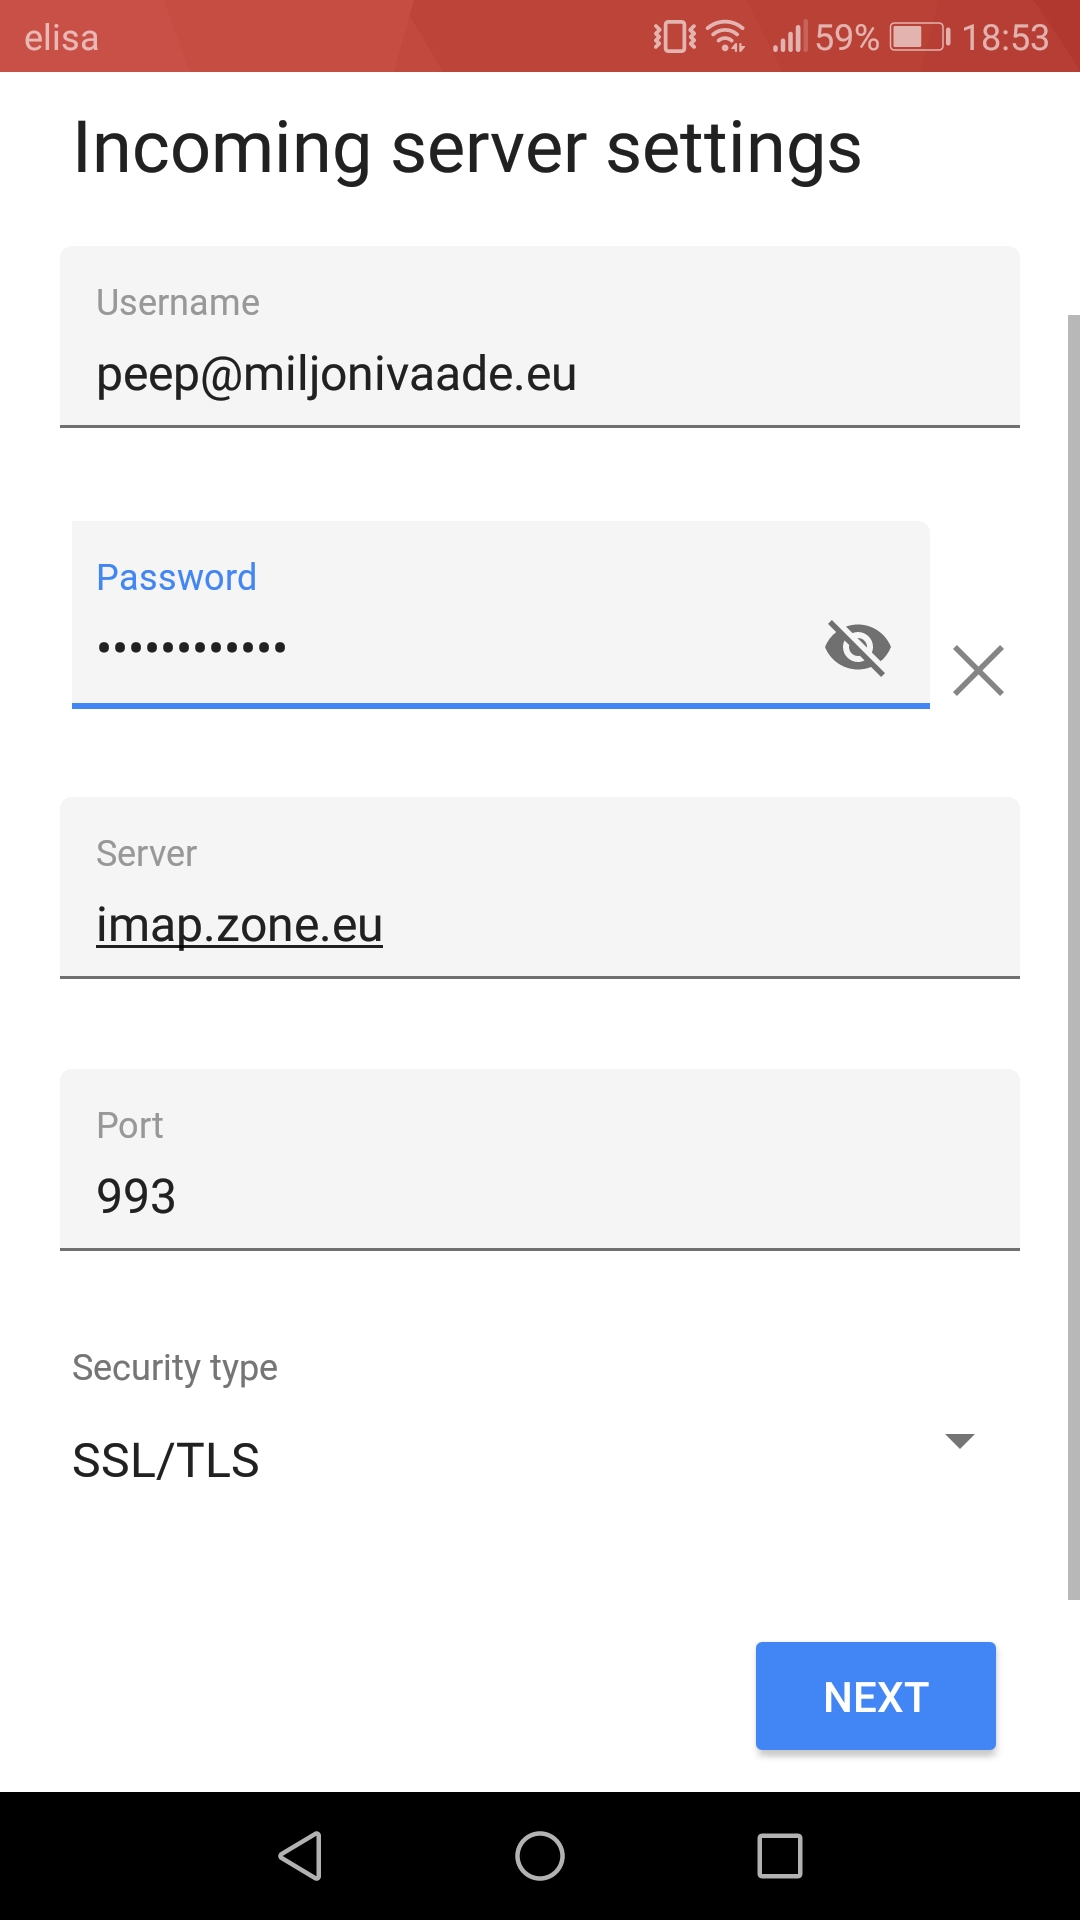
- Incoming mail server i.e IMAP server: imap.zone.eu port 993
- Incoming mail server i.e POP3 server: pop3.zone.eu port 995
- Outgoing mail server i.e SMTP server: smtp.zone.eu port 465 SSL/TLS or 587 STARTTLS
Outgoing mail server requires authentication (username is email address, password is general or device specific).
1. On your phone, open Gmail app and tap Add an email address.
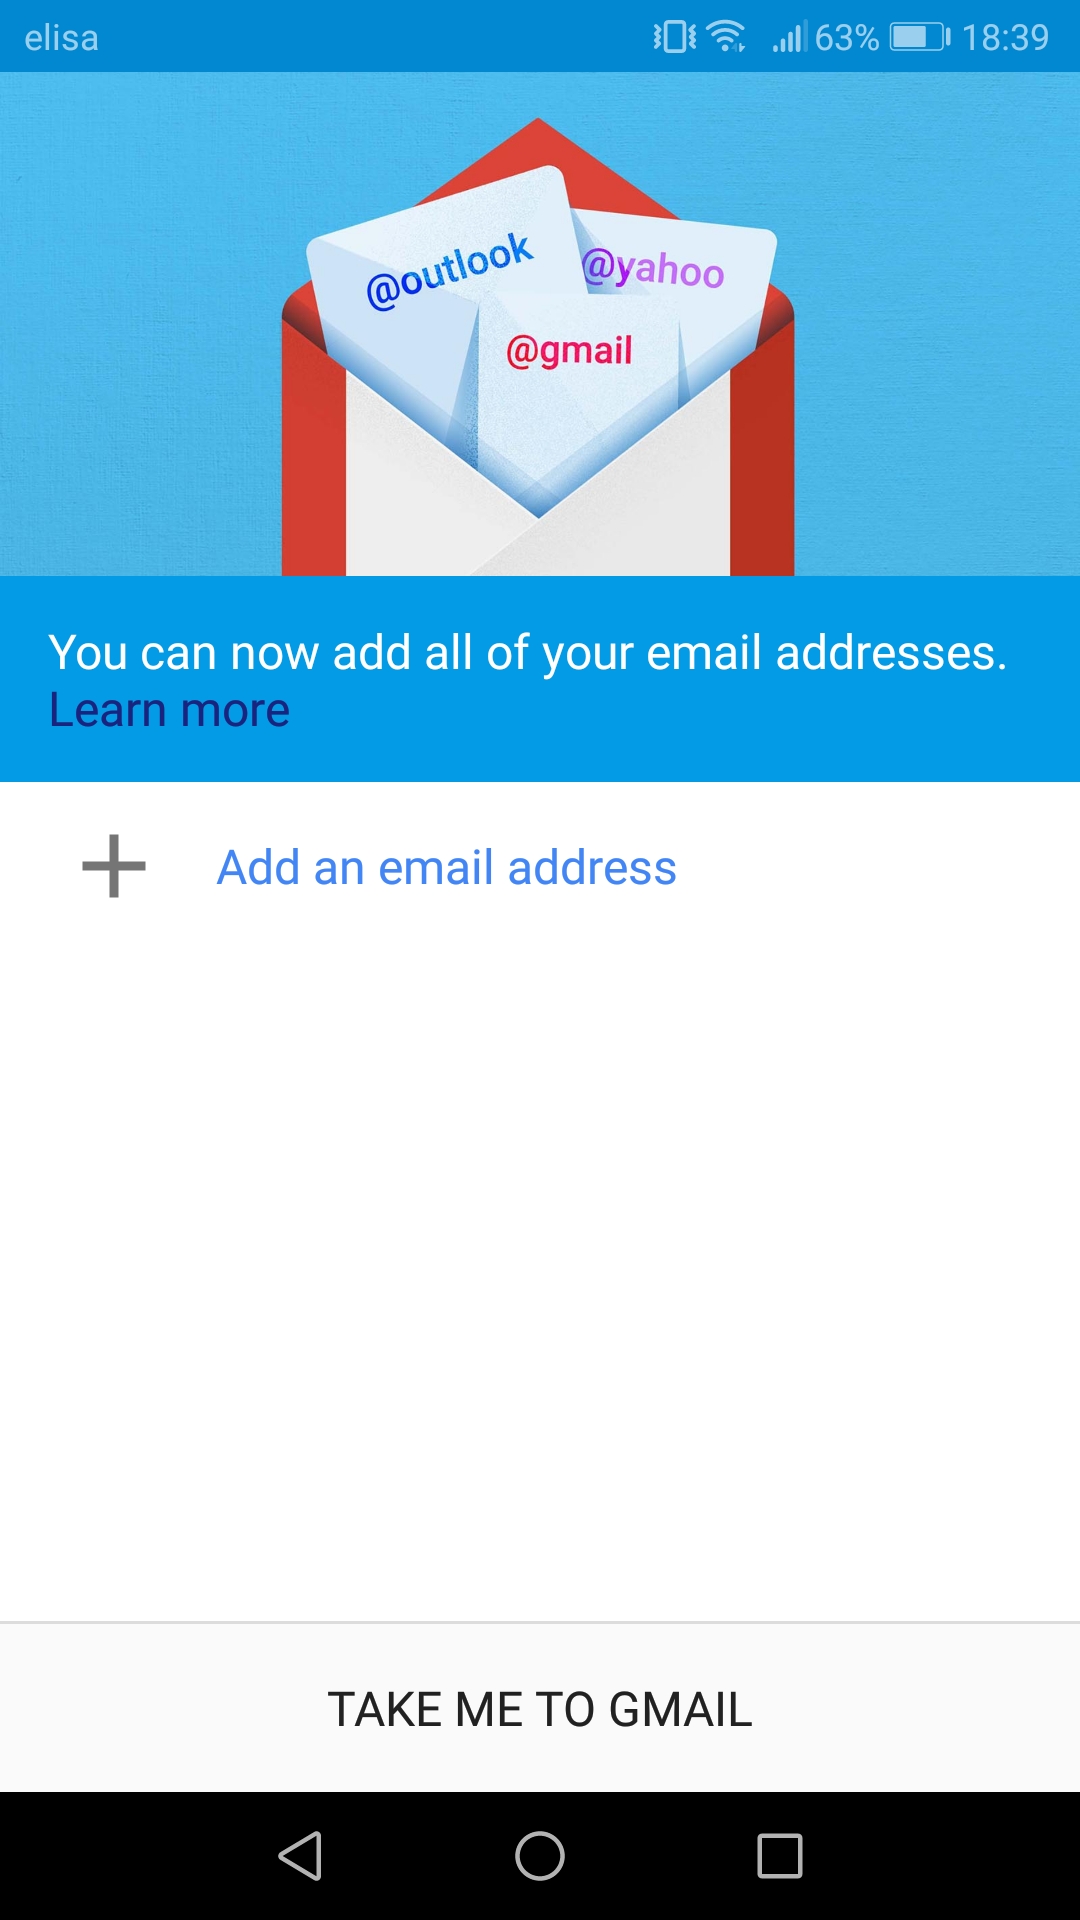
In case you already have a connected account, then upon opening the app tap icon on the top right and then select Add another account
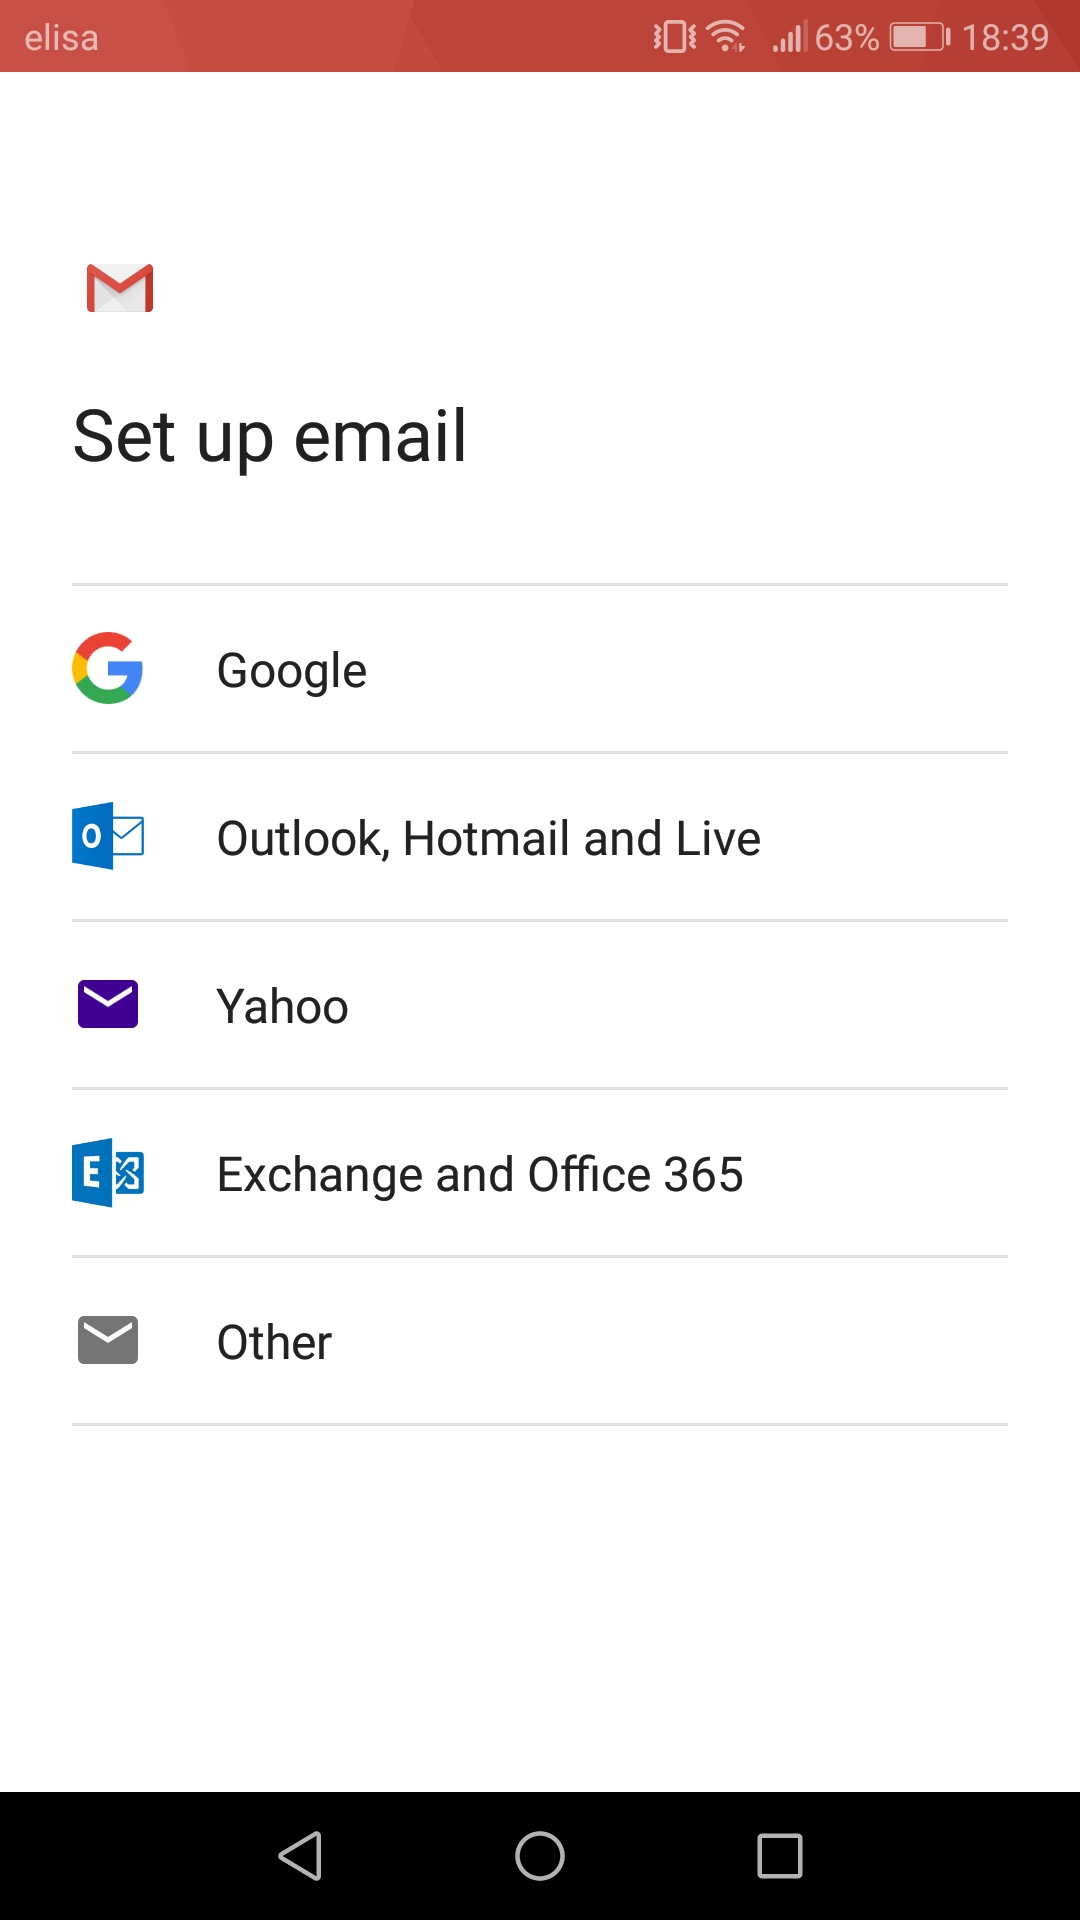
2. Next tap Other
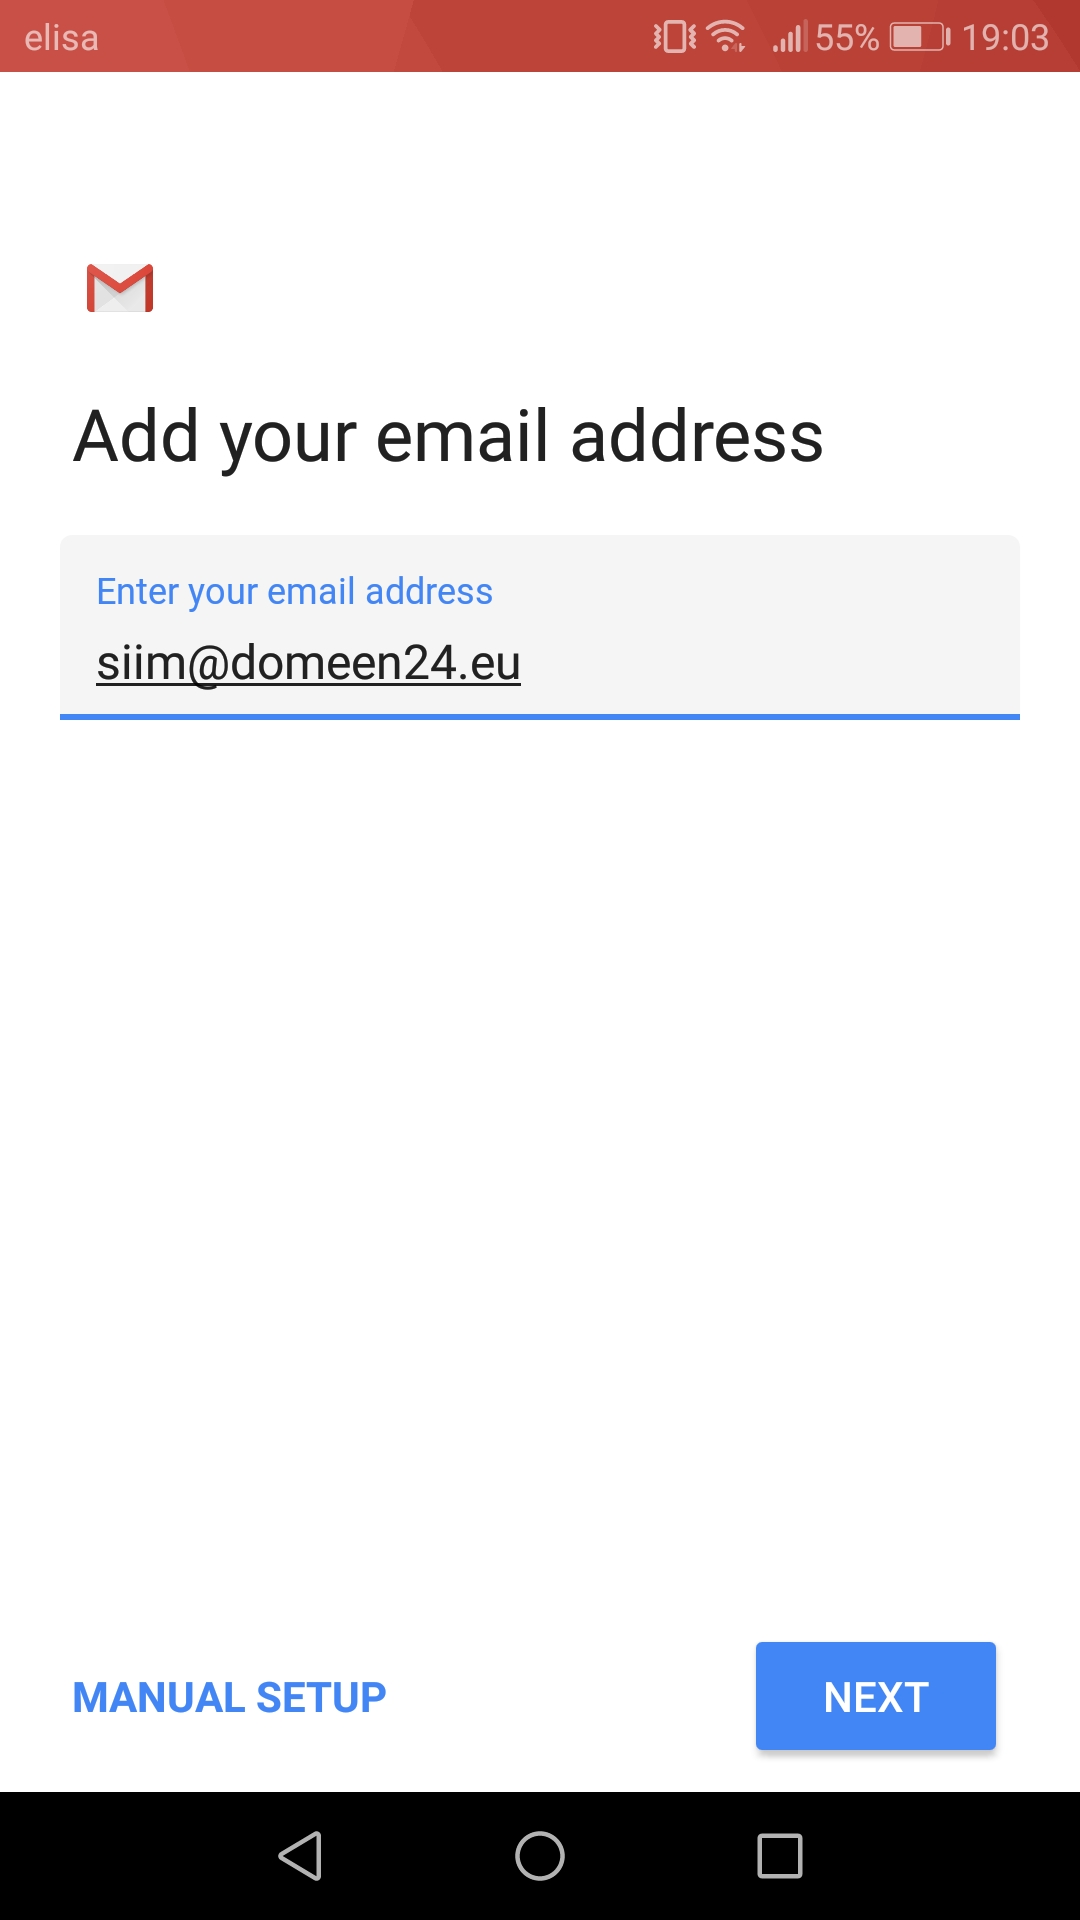
3. Enter your e-mail aadress and tap Next
4. Select account type Personal (IMAP) then tap NEXT

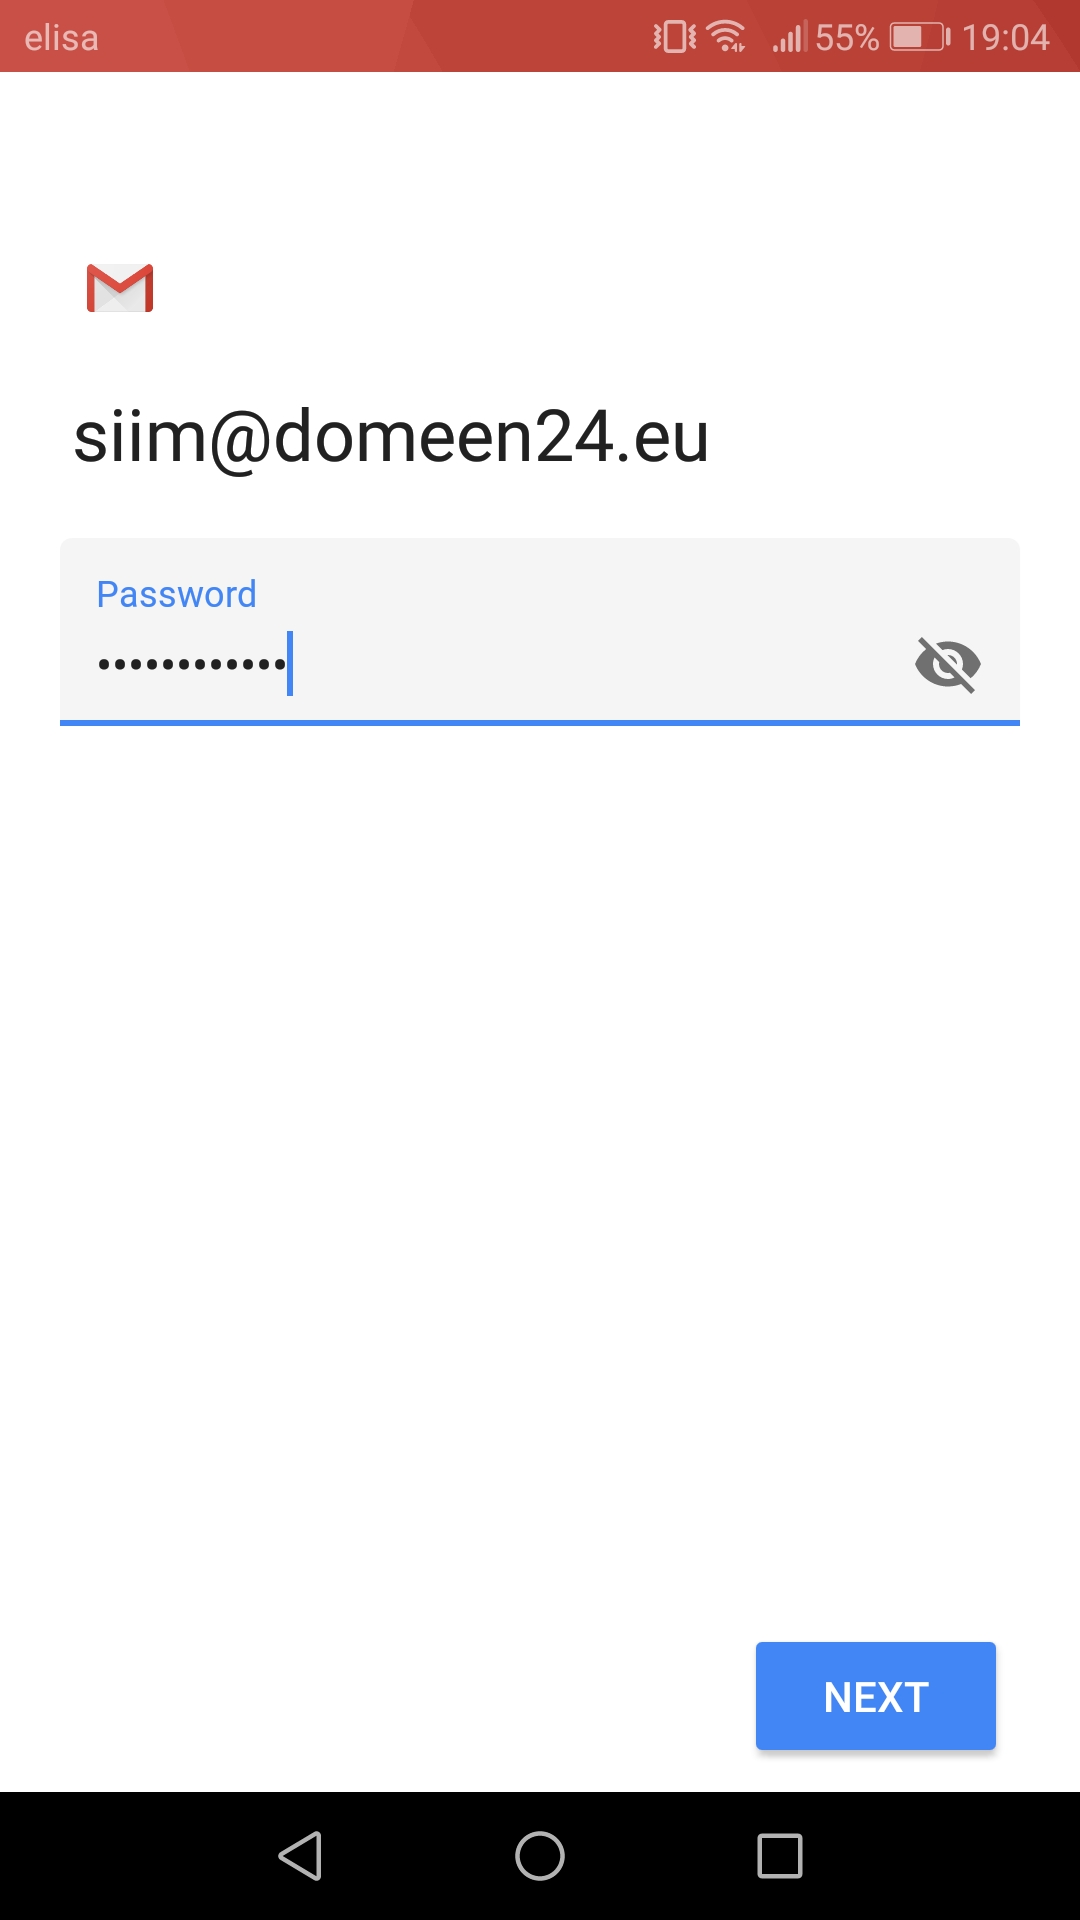
5. Type in your e-mail account password, then tap NEXT.
6. Enter incoming mail server mail.zone.eu, then tap NEXT.
7. Enter outgoing mail server smtp.zone.eu and tick the box Require sign-in.
![]()
8. Now you will be asked to set up your personal preferences, which you may fill out as you deem necessary.