redis-cli
To use redis-cli, next command must be used:
> vs-redis-cli
Information about the version of Redis, connected clients/applications, and other details can be seen using next redis-cli command:
> info
A full list of redis-cli commands and information about their usage can be found in the Redis documentation:
redis.io/commands/
Using Redis Object Cache For WordPress
For the WordPress plugin Redis Object Cache, the minimum required PHP version is 7.2. Additionally for the corresponding main or subdomain where WordPress is installed, the Redis extension under PHP extensions must be enabled, which is on by default.
Starting the Redis Server
To start the Redis server, go to the Webhosting page in My Zone management, select from the menu: Databases > Redis and click on the Enable Redis instance button:
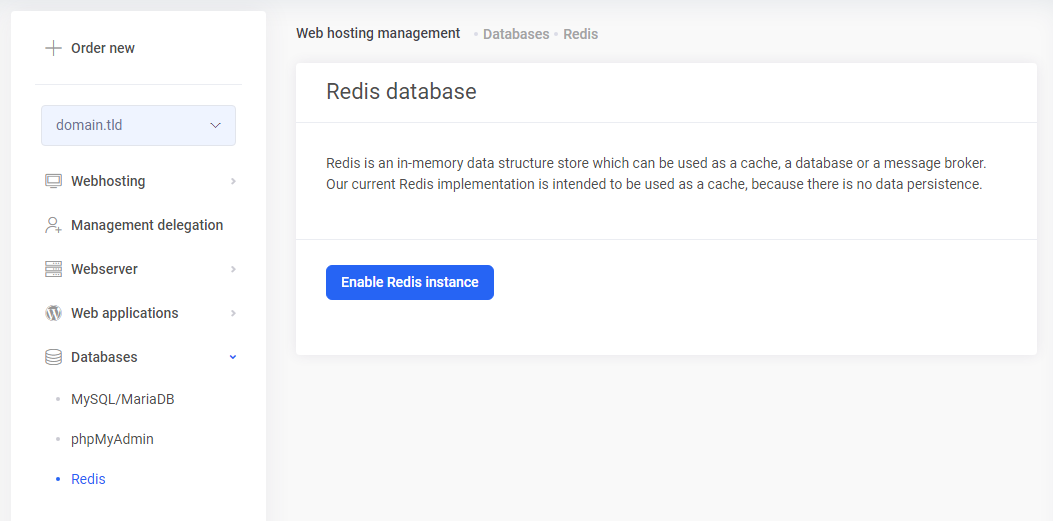
Keep this page open until the necessary information for the WordPress’ wp-config.php file has been copied from here.
Configuration and Activation
Log into the WordPress dashboard and install and activate the new plugin called Redis Object Cache.
Next, open the WordPress configuration file wp-config.php.
Add the necessary Redis configuration data to the wp-config.php file before the “stop editing” line located at the end of the file.
define( 'WP_REDIS_HOST', '127.1.23.456' );
define( 'WP_REDIS_PORT', 6379 );
define( 'WP_REDIS_PASSWORD', 'abcdefghijklm1234567890' );
define( 'WP_REDIS_CLIENT', 'predis' );
define( 'WP_REDIS_PREFIX', 'my-site' );
define( 'WP_REDIS_DATABASE', 0 );
define( 'WP_REDIS_TIMEOUT', 1 );
define( 'WP_REDIS_READ_TIMEOUT', 1 );
Values for WP_REDIS_HOST ja WP_REDIS_PASSWORD can be found on Webhosting page in My Zone management, under Databases > Redis.
Remaining configuration details and detailed instructions can be found in the plugin documentation:
Redis Object Cache for WordPress – Configuration
Installing Redis Object Cache – Configuring the plugin
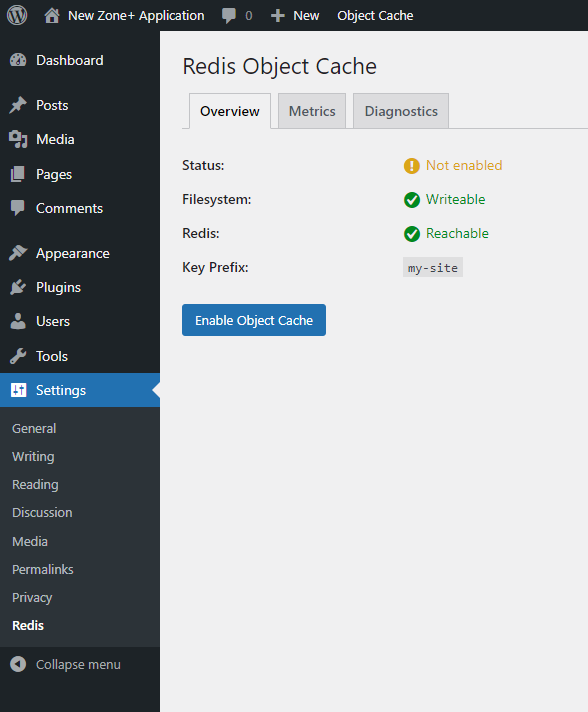
After adding the Redis configuration into the wp-config.php file, reload the Redis page in the WordPress dashboard: Settings > Redis. On the Overview tab, Redis should now be as “Reachable”:
 Then activate Redis by clicking the
 Enable Object Cache button on the same page.
Usage Graphs
The usage graphs of Redis, which provide an overview of memory usage, operations, connections, and key usage, can be viewed in My Zone management, on Webhosting page, under Databases > Redis.
Flushing Redis cache
In most cases there is no need to flush the Redis cache.
However, it can be done as a last resort if WordPress background operations or the dashboard are not functioning properly or if enabling and disabling plugins will fail.
To flush the Redis cache, go to the Settings > Redis in the WordPress dashboard and click the Flush Cache button.
The redis-cli command for this is:
> FLUSHALL
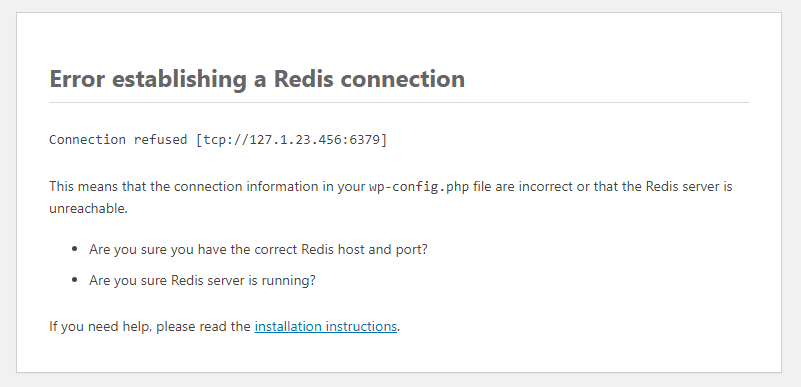
WordPress error “Error establishing a Redis connection”
If WordPress displays an error message “Error establishing a Redis connection”, it means either that the Redis server is not running or the WordPress configuration file wp-config.php is missing the Redis configuration or it is incorrect.