To use Elasticsearch, you need to order an Elasticsearch instance in your My Zone control panel from Databases → Elasticsearch + Add New Elasticsearch instance.
Next step is to access your WordPress admin panel and install the ElasticPress plugin. In the plugin menu click Add new. In the search box type in Elasticpress, search and click Install now next to ElasticPress. Then Activate.
Next, click on Dashboardnext to the ElastiPress plugin.
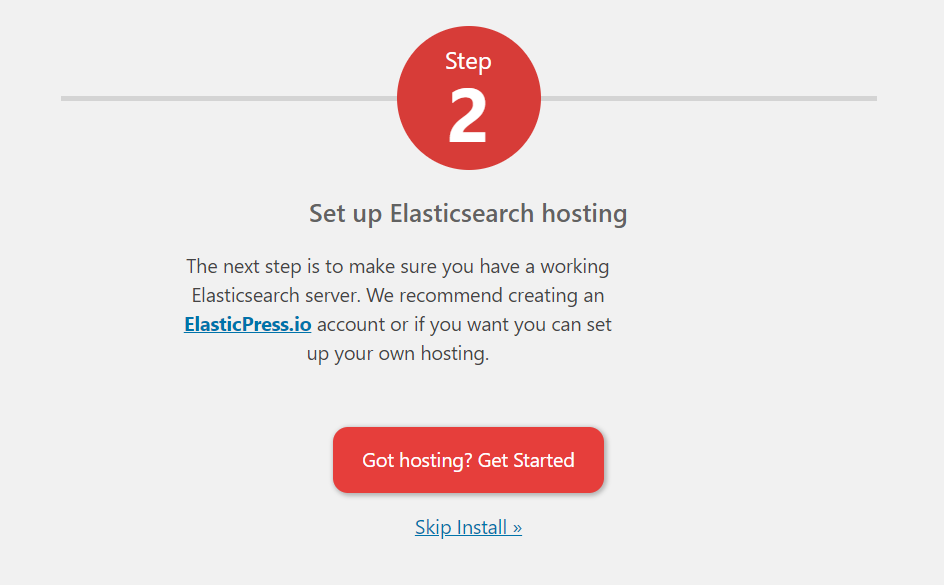
In the window that opens, click on Got hosting? Get started.
Choose the Third-Party/Self-Hosted tab.
In the Elasticsearch Host URL field, you must enter the Elasticsearch instance added from your My Zone in the following form https://username:password@host For example:
https://virtXXX:PASSWORD@virtXXX.elastic.zonevs.eu
Click on Save changes.If the information is correct, you will be offered the Index Your Content option. If such an option does not appear, you must recheck the data you entered into the Elasticsearch Host URL field.
Your Elasticsearch is ready for use after indexing.