Introduction
It is possible to set up a test environment for WordPress. This involves creating a copy of the application that is connected to the main application, allowing for data and file synchronization between the two environments.
Setting up a test environment
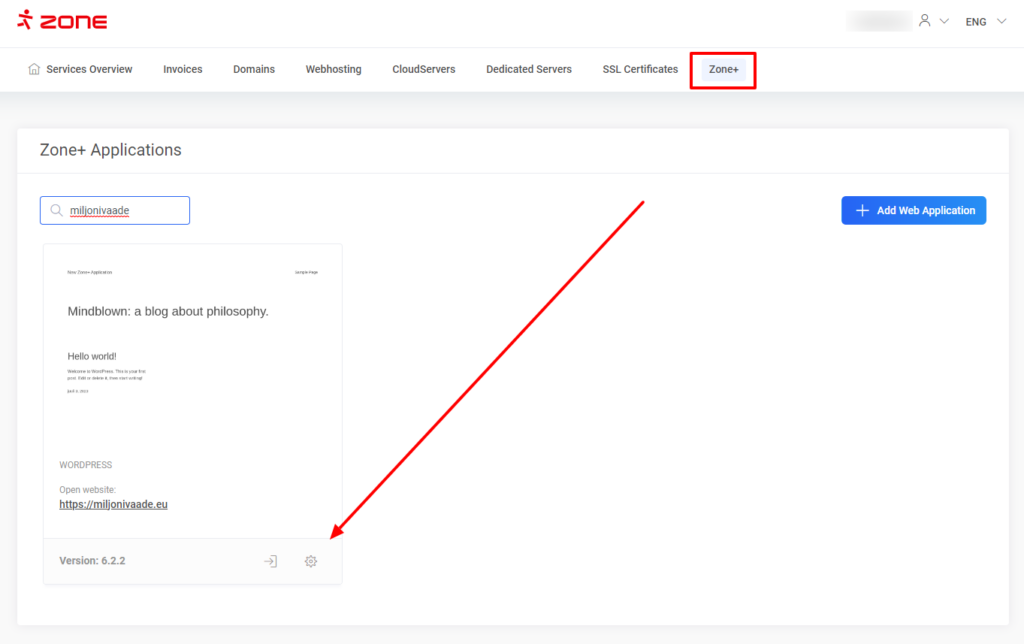
First, open the Zone+ menu at the top and navigate to the applications section. Look for the appropriate WordPress application to create a testing environment for. In the application view, click on the Settings button.
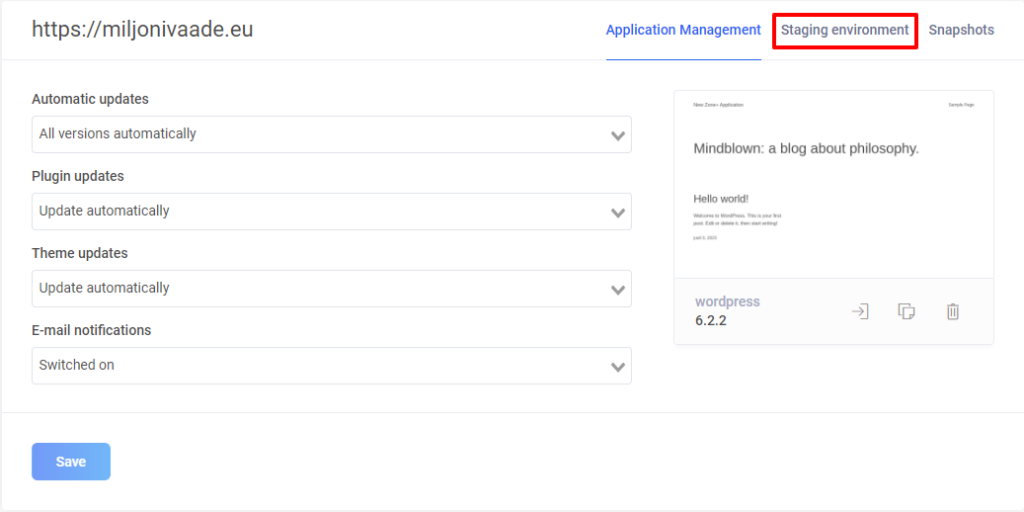
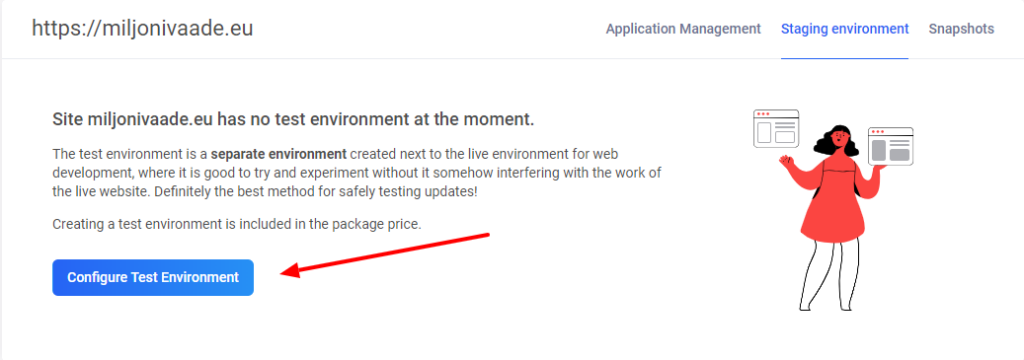
On the opened page, select Staging Environment and click on Configure Test Environment.
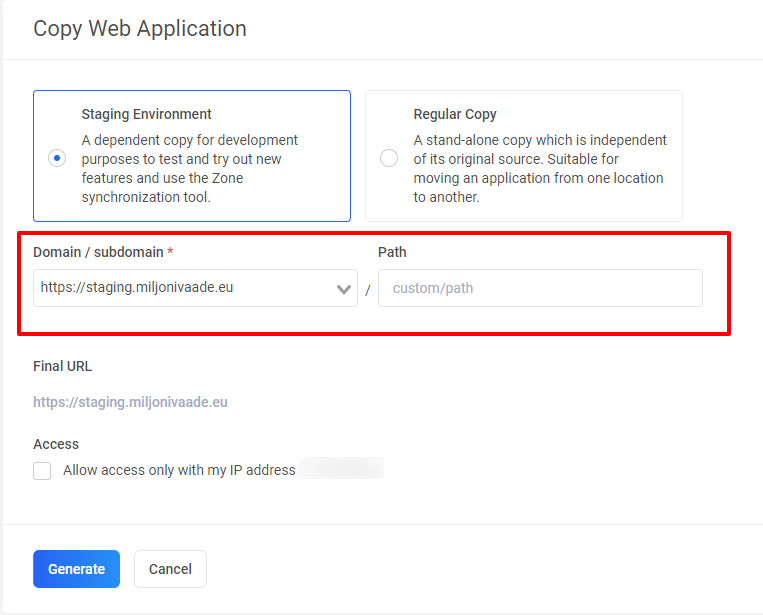
On the page that opens for application copying, Staging Environment should be selected as the copying type. In the drop-down menu Domain / subdomain choose where you want to install the copy of the main application. The Path field can be left empty by default, but you can use it if you want to install the copy in a subdirectory. Below, there is an option to restrict access only to your IP address. IP-based restriction can also be set up and modified after creating the testing environment.
Synchronisation
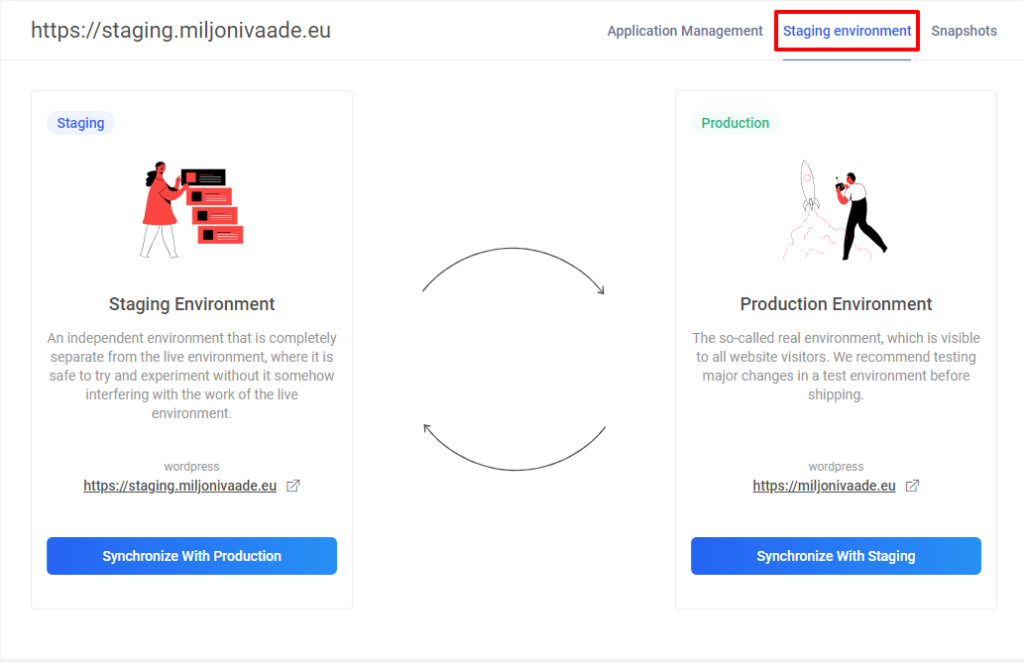
Once the testing environment is set up, you have the option to synchronize one environment with the other. To do this, open Zone+ and click on Settings -> Staging Environment for either the main application or the testing environment application.
In the opened view, you can copy in both directions: from the testing environment to the main application and vice versa.
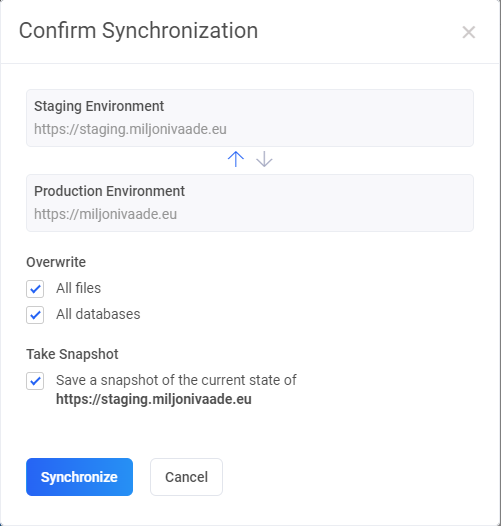
Starting the synchronization process opens a window where you can specify whether you want to overwrite only files or also databases. It is also possible to create a backup of the application to be overwritten for security purposes before synchronization, which can be used to restore the overwritten application.
Snapshots
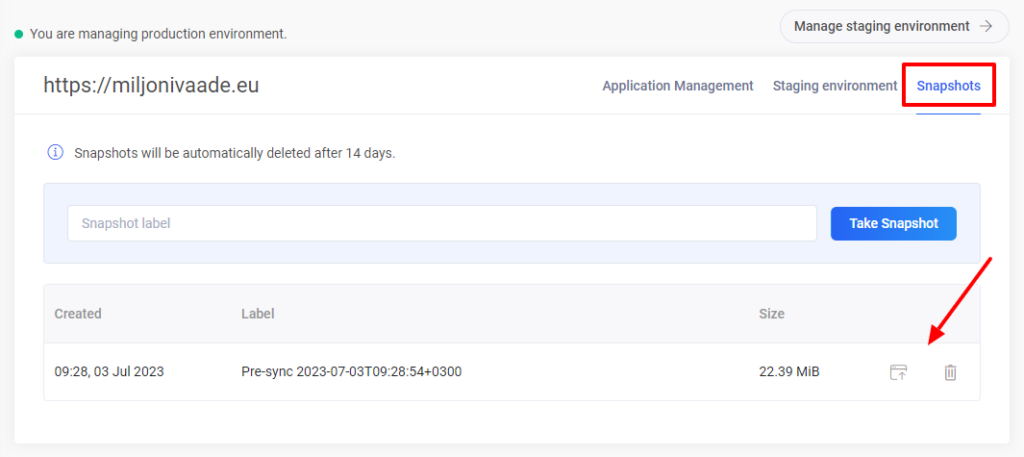
Previous snapshots before synchronization can be viewed in the Snapshots view. In this view, you can restore from backups or delete them using the respective Restore and Delete buttons. If desired, you can manually save snapshots whenever you desire.
Restricting access by IP
When setting up a testing environment, it is possible to restrict access to the page only to allowed IP addresses. After setting up the environment, you can modify this by following the following path: Zone+ -> Settings -> Application Management. There, you can add and remove IP addresses in the respective field. If you want to add multiple addresses, you can separate them with either a comma or a space.
