What is WP_DEBUG?
WP_DEBUG is a feature in WordPress that allows you to save all errors that occur during website development in a debug.log file. If you leave the debugging feature enabled after site development is complete, the debug.log file can become very large, as can system backups.
How to enable/disable WP_DEBUG?
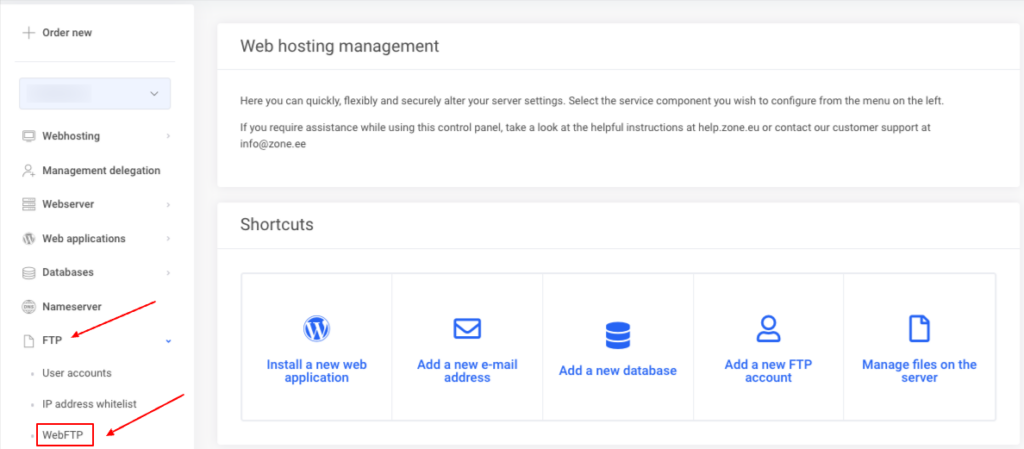
First you need to go to an FTP client program or WebFTP client to change files. To easily change files via My Zone control panel, from the service overview page at the top, select Web Hosting → FTP → WebFTP .
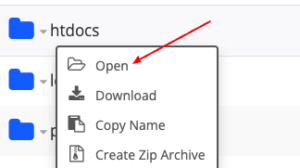
In WebFTP, open the htdocs directory for the application located on the main domain. If it is a subdomain, open the directory with the subdomain name.
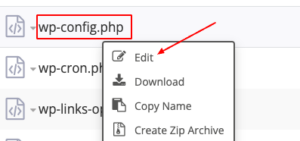
In the directory that opens, find the wp-config.php file, right-click it and select Edit.
Enabling debug.log
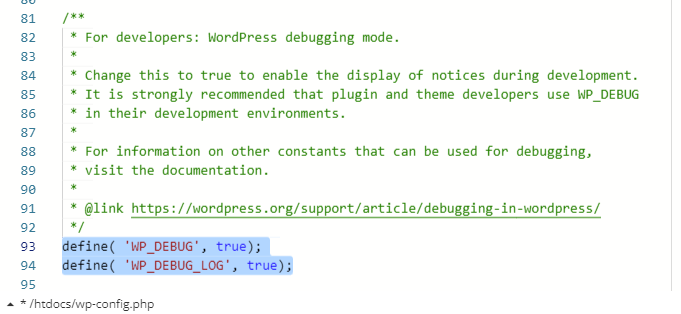
To enable debug.log, find the WP_DEBUG and WP_DEBUG_LOG lines and change the values to true:
define( 'WP_DEBUG', true);
define( 'WP_DEBUG_LOG', true);
If WP_DEBUG and/or WP_DEBUG_LOG are missing, add the missing lines after the following comment:
/* Add any custom values between this line and the "stop editing" line.
After making the changes, click Save.
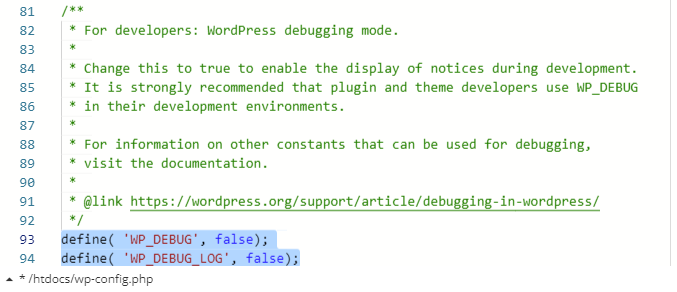
Disabling debug.log
To disable debug.log, change the WP_DEBUG and WP_DEBUG_LOG lines to false:
define( 'WP_DEBUG', false);
define( 'WP_DEBUG_LOG', false);
After making the changes, click Save.